· Chris Hammond
Last Updated
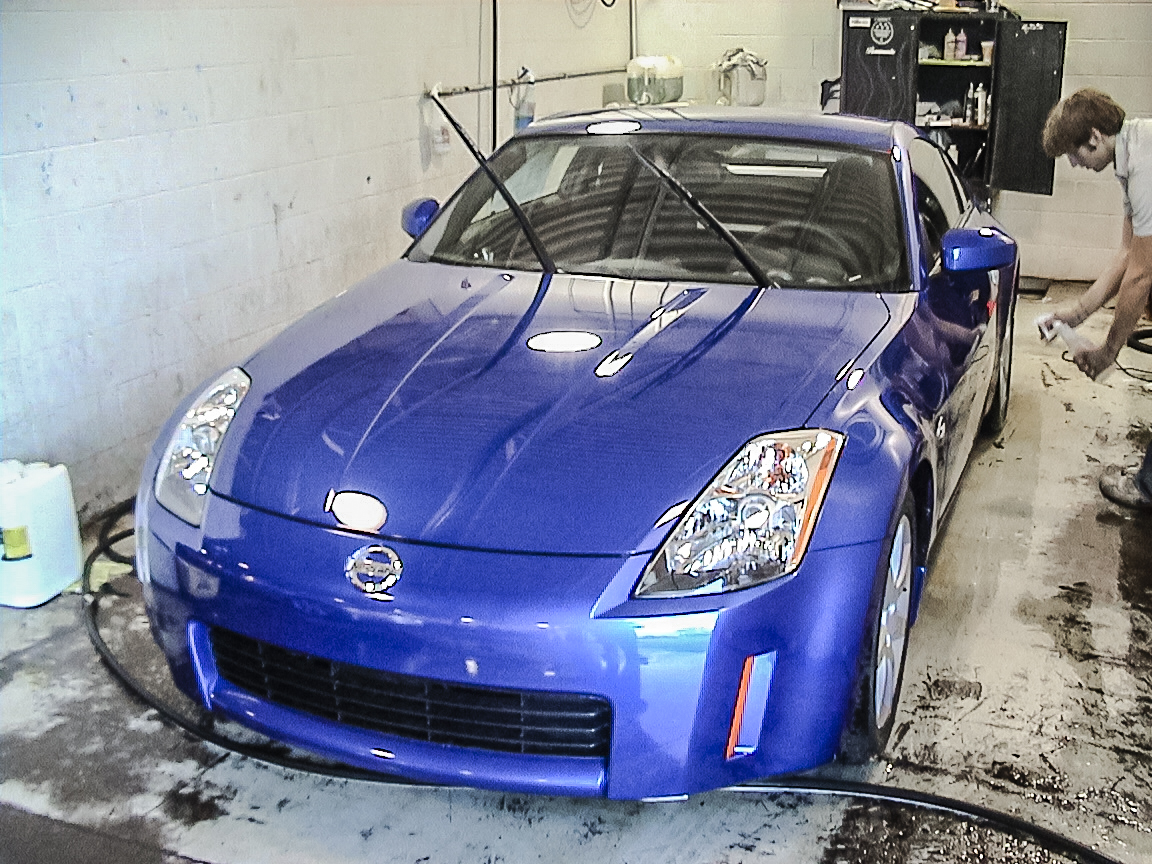
Washing, Waxing and then Cleaning 350z Headlights
Follow the journey of restoring and prepping a 2003 Nissan 350z for competitve autocrossing in SCCA's STU class. Stay tuned for updates.

This weekend, being what is likely the last warm weekend of 2015, I decided it was time to wash/claybar/wax the 350z. The weather was beautiful, I spent most of Saturday afternoon performing the first two steps, washing and clay bar’ng the car. The car was pretty clean, but there were some decent cone marks/residue on the side skirts from the previous owner, most of the time spent with the clay bar was there, though there were various other locations on the car that needed attention as well.
Clay Bar basics
If you’ve never taken a clay bar to the paint on your car, here’s a quick primer. A clay bar is used to clean up particulates in paint and to remove wax, and if you autocross, it is rather useful for cleaning up cone marks. The first thing you need to do before using the bar is to Wash the car. Drying the car isn’t really necessary as you will be washing it again after you finish with the bar. Once you’ve watched the car, you can use a lubricant (detailer mist/spray) to work the clay bar over small sections of the car. You will notice that as you run the bar over the car you will feel the paint smooth out, this happens when the bar picks up the crap from the paint. Be careful not to drop the clay bar on the ground, if you do this it will be covered in grit and crap that you definitely don’t want to rub back into the paint of the car.
Once you’ve finished one spot, move on to the next. I ended up not using detailer spray yesterday and just used soapy water, then rinsed that water/soap off with hose every few minutes. If you find trouble spots, scratches, imperfections, it is worth trying to run the clay bar over these spots, sometimes it takes 5-10 minutes of work, but often times it will clean up with enough effort, this is especially true of cone marks on the bottom portion of side skirts.
After finishing with the clay bar you’re going to want to wash your vehicle again to get any residue that remains from the clay bar and the detailer spray off the car. I dried the car with a California car squeegee, and then my shammy. I took the blower and tried to get any remaining water out of the seams of the car and then parked it in the garage for a couple of hours to let it fully dry. Last night I then applied a coat of polish before turning in for the night. This morning I woke up early and put a coat of wax on the car, and decided it was time to clean the headlights up.
Cleaning 350z Headlights
The headlights on my car were in two different states, the passenger side headlight has some stress cracks, but the surface plastic only had a very faint fog to it. I was able to clean this fog off with a simple headlight restoration polish that I’ve had for a few years, it was simple, rub it on, wipe it off, good as new (minus the cracks).
The driver’s side headlight however was not in near as nice a shape, it appeared to have over spray on it, as well as scuffs likely from a sanding process when the car was painted at some point. The headlight polish I used on the passenger side, didn’t do a lick of good on the driver’s side. For this I chose to go with “Meguiar’s G2000 Perfect Clarity Two Step Headlight Restoration Kit”, this kit comes with an abrasive pad (2x), a rubbing compound (step 1), and a clear coat spray (step 2).
Step 1) Don’t be afraid here, but you are going to scratch the crap out of your headlight lens, step 2 will make this better. I had to spend a good 15-20 minutes working on the driver’s side lens due to the scuffing and fogging on the plastic. The abrasive pad and the polishing compound should be used in one direction, not in a swirling motion. I wiped the product off every couple of minutes to try to check my progress, when you are done with this you will need to use a wet rag to wipe the residue off. One thing I did for this, due to the abrasive nature of the product, I taped over the paint with blue painters tape, to protect the paint around the headlamp from scratches. When I do this again on another vehicle, I would actually use tape and newspaper to cover a larger area (due to step 2).
Step 2) The instructions for the product don’t tell you much about this, but Step 2 is a spray can of clear coat that will restore the gloss and shine to your headlamps. Be sure to tape off the area around the lamp if you haven’t done this already for Step 1. Basically you spray the clear coat on in two separate applications, waiting 3-5 minutes for the first coat to dry.
I must admit, I was not thrilled about scratching up the headlights even more to use this kit, but the end results was most definitely worth it!

