· Chris Hammond
Last Updated
Installing the 350z Trailer Hitch
350z Trailer hitch installation post with a few details of the process.
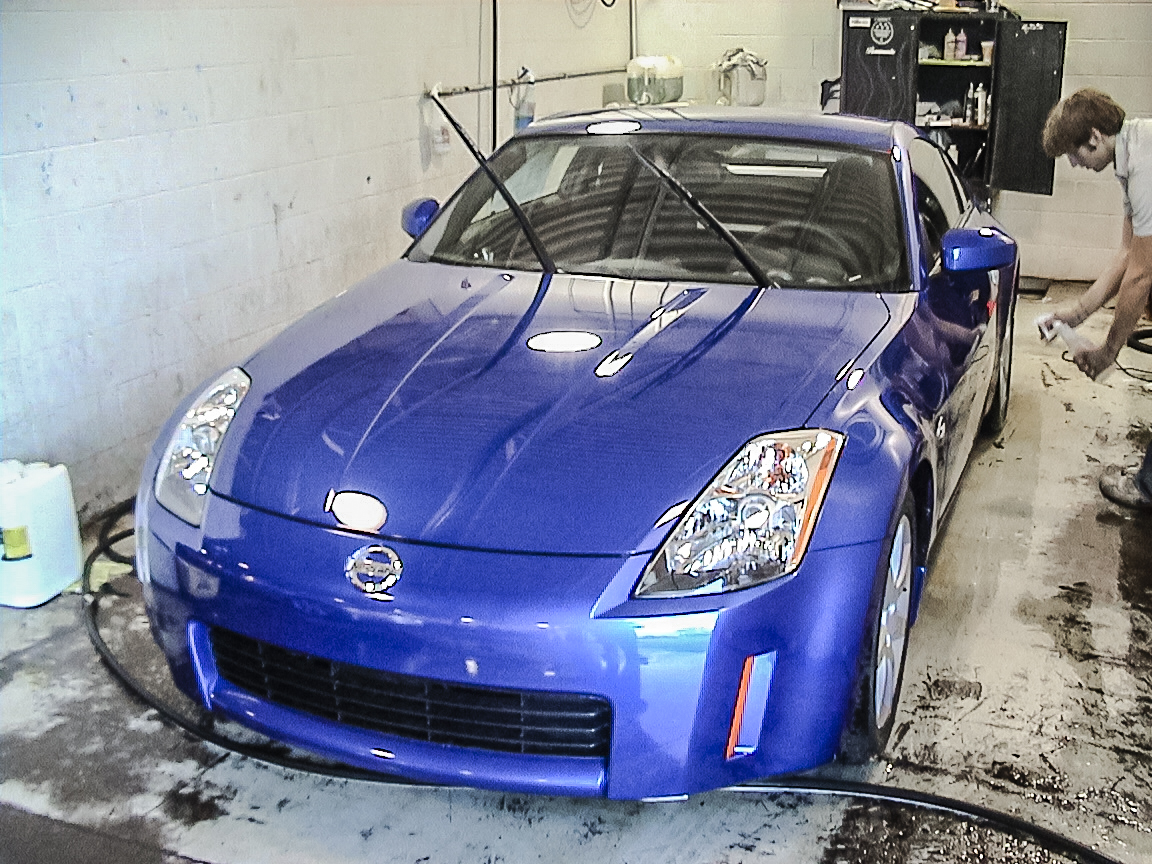
So the time finally came, or I finally got around to it, the hitch is now on our 2004 Nissan 350z.
The hitch is a Curt Hitch for the 350z, available via Amazon. I purchased it quite a while ago, but haven’t taken the time to get the car apart and install it. Today that all changed.
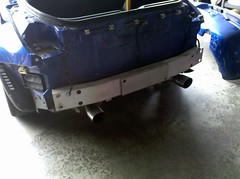
To get the hitch on the car, you first have to remove the rear bumper fascia from the car, that’s fairly simple to do, remove the rear tail lights, remove 6 or so screws, 4 clips, and pull. The 350z Service Manual is helpful for this.
After that you have to go ahead and drill some holes in the bumper. The hitch itself uses 4 bolts, but the instructions call for cutting a fifth hole, to access to make fishing in the bolts and washer plates.
We spent quite a bit of time trying to avoid cutting the access hole, trust me, just cut it, don’t go through the pain of trying to make it work without. I also recommend that you get a long magnetic puller tool, something that extends like an old conference room pointer, with a magnet on the end, it will make things easier to access within the aluminum bumper of the 350z.
Other helpful steps, get a couple of extra washers, there is no way, in my opinion, that the Curt Hitch can work with the two washers included, you need at least 4 (we got 6 extra, used 4 total).
Part of the biggest pain in doing the installation of the Hitch were the two clips that hold the bumper fascia on just outside/below the tail lights. They are hard to access due to the layout of the car, I was able to finally get them off using an 8mm wrench, though it took a lot of cursing. Installation of these was even worse, here’s my advice. Take the clips out of the body of the car, put them onto the fascia, then put them back into the car when the bumper goes back on. Be careful not to break them.
So the hitch is on the car, though I don’t plan to use it for a good couple of weeks at least. I don’t have a trailer yet, it will likely just be used so that I can take a bike to/from work so I can ride at lunch.
Here is a during, and after photo, and stay tuned for the time lapse video of the process later on.


