· Chris Hammond
Last Updated
Solo Spec Coupe Parts Installation
Explore the ups and downs of the 2016 ProSolo series, experiences with the 350Z car, and anticipation for the upcoming finale and SoloNationals.

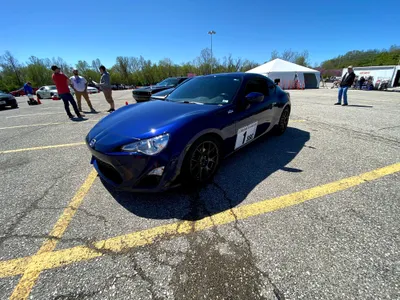
After a long couple of days working on the FR-S, interspersed with family events and other activities, I finally have the suspension components installed on the FR-S.
If you’re interested in doing the installation yourself, be sure to check out the TireRack write-up. I am not going to recreate the write-up, it covers a lot of what you need to know, I am going to cover some of the items that I feel the write-up misses.
First things first, don’t try to just go based off of the TR write-up, you should also read any of the instructions that come with the parts you ordered. I made the mistake of trying to just use the write-up and got burned on a few items, had I just read all of the instructions first I would of saved myself some headache.
- Two plastic fasteners for lower plastic panel covering sway bar mount. Swing panel out of way.
- Three upper strut nuts (12).
- One bolt towards the front for the sway bar mount (14).
- One nut underneath towards the rear for the sway bar mount (12). This can be accessed from below through a hole in the frame member by removing the two bolts (10) holding that side of the flexible cover.
- Remove sway bar from passenger side with shock assemblies out on both sides. Twist ends to the rear.
Note: If the cover does not give enough access, then the metal shield with four cover bolts (10), six shield bolts (12), and six plastic fasteners may have to be removed. One each of the three plastic fasteners on each side is underneath the fender liner towards the front.
This is where I diverged from the instructions, getting to the sway bar mounts, I have no idea how anyone could remove the sway bar without removing the subframe connectors. I ended up taking both the metal tray under the engine, and the composite tray over the exhaust/transmission from the car in order to remove the subframe connectors which then drops the sway bar out of the car. Also in the Notes, there are 7 plastic fasteners on my car, one in the middle, that holds the metal tray.
Next up was removal of the upper mount bearing from the stock strut. I ended up removing this without using a spring compressor, though I wouldn’t recommend it. I have a bruise on my wrist from the mount popping off when the nut came free, definitely learned a lesson on this one! I did end up using the spring compressors to install the Eibach springs on the Konis up front.
When assembling the front Struts, and the rears, be sure to figure out your dust boot situation. The Eibach springs, come with 2 new dust boots, I ended up putting these on the front struts, though other people have said they installed them on the Rear and reused the OEM fronts on the Koni fronts. I ended up using the OEM rear boots on the rear with the Konis and Eibachs.
- Install new lower SPC camber bolt (15) with nut (17) to the front. Tab on SPC bolt horizontal to the outside for approximate maximum camber.
The next point of clarification is related to the bolts used on the bottom of the front struts, there are two. When installing the new struts, use the SPC camber bolt on the bottom hole, and use the original bottom bolt (oem) in the upper hole. You can tell the difference between the two bolts by looking at the shafts. The original TOP bolt is thicker on one side, the bottom one is uniform and will give you more adjustment for camber by installing it at the top position. I saved the original top bolt with all the rest of the OEM parts.
How do you mount the SPC bolt? Read the instructions here.
Moving on to the Rear of the car, you’ll come across this in the instructions:
- Three upper shock nuts (12). That line is incorrect, it should be Two upper shock nuts, and I think they are 14s, not 12s.
Putting the rear shocks together, I ended up using the spring compressor to remove the OEM upper mount, but assembling the Konis I ended up compressing it by hand. I was able to press down on the shock mount enough to thread the nut onto the shaft of the Konis and run the nut down by hand with a socket. This is a much easier job if you have a second person to assist, one to compress and one to turn the nut down.


